Getting Glass Screen Printing Right with IR Annealing
Here’s the thing about glass screen printing: it leaves your material in a pretty fragile spot. You’ve got your ink pattern cured and looking good, but all that rapid heating and cooling creates a lot of internal tension. If you don’t handle the tempering process just right, the glass simply snaps. That’s why we use shortwave infrared (IR) heaters for the annealing phase. It’s all about finding that sweet spot where the ink sticks perfectly, but the glass stays strong.
The Balancing Act
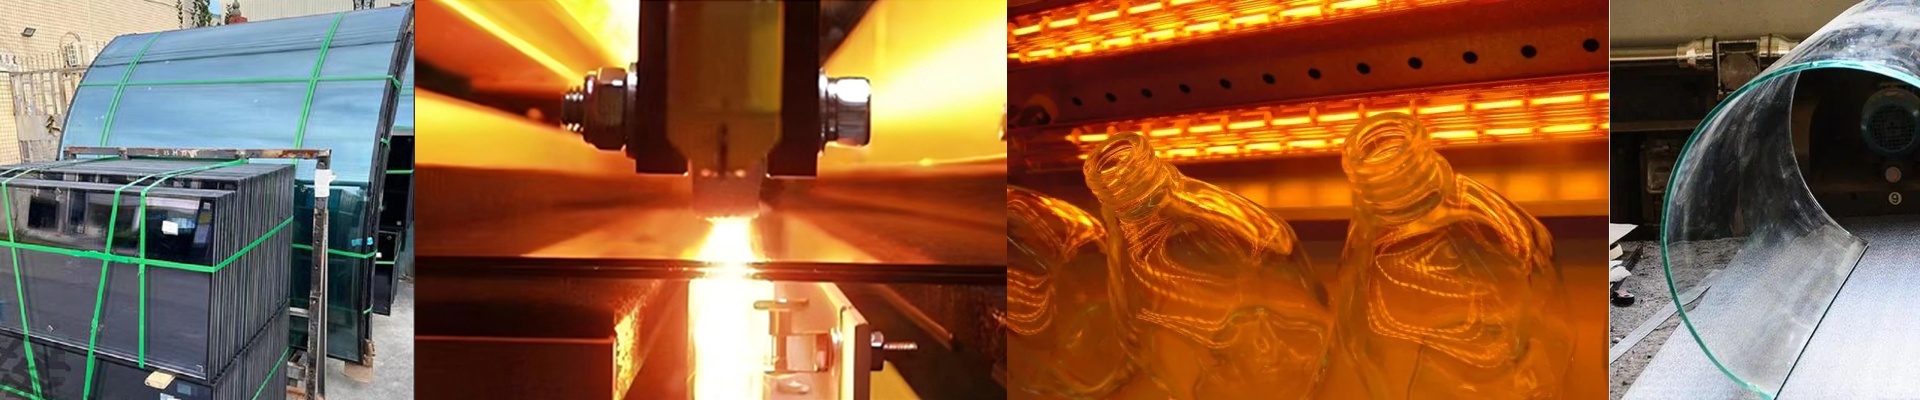
The goal is simple: get the glass to a temperature where the ink actually bonds, but not so hot that the whole thing warps or cracks. Shortwave IR is great because it punches through the glass surface fast. We’re talking seconds. You need high-wattage density to make sure the heat actually hits the interface between the ink and the glass. But you have to be careful. If the heat is too low, the ink won’t “bite.” Too high? Thermal shock. We set these systems up with a precise ramp-up and a “soak” period to bleed off all that residual stress from the printing process.
The Hardware Side of Things
We usually go with quartz halogen tubes. They react fast, which is a must when you’re running a conveyor line. You can wire them for rapid cycling so they keep pace with your line speed. But there’s a catch. These high-intensity lamps put out a massive amount of heat. If your housing isn’t vented properly—or if you skimped on the cooling fans—you’re going to melt your connectors or warp your reflector shields. It’s a constant balancing act between how much power the lamp is pumping out and how fast the conveyor is moving. Overheat the glass, and you’re back to square one.
The Payoff
When you tune the IR annealing correctly, the patterns stay sharp. No bleeding, no bubbling. Just a clean finish and a much stronger piece of glass. Once you nail the wattage and the dwell time, you stop seeing those heartbreaking breaks during the packing stage. Everything just holds together.