Getting the Heat Right in Glass Annealing
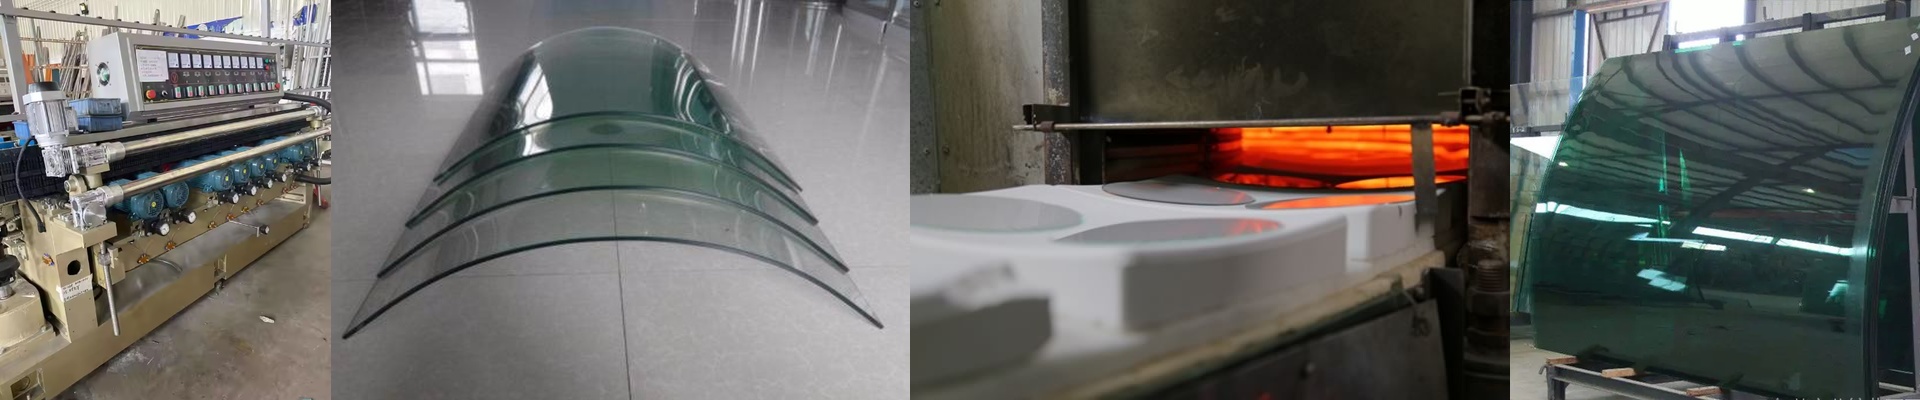
Most off-the-shelf heating lamps are built for one thing: blasting everything with the same amount of heat. That’s fine for some jobs, but if you’re in R&D, it’s usually a headache. When you’re messing with new glass compositions, you don’t want a flat wall of heat. You need a specific gradient. You need to know exactly where the stress points are or how a phase transition behaves. It’s all about where the power actually lands. Instead of just looking at total wattage, we obsess over power density. We play around with how the filament is wound and how thick the quartz envelope is to move the heat exactly where you need it. Say you need a searing hot spot right in the center that gently fades out toward the edges. We build the lamp to hit that curve. It’s a lot cleaner this way. You don’t have to mess around with clunky mechanical shutters or external shielding that usually just ends up contaminating your sample. But here’s the catch. When you cram more power into a smaller space, you’re putting a lot of stress on the quartz tube. It’s a bit of a balancing act. If we crank up the density to speed up your annealing cycles, the lamp is going to run hot.Really hot. You’ve got to make sure your housing can breathe. If the airflow isn’t there, you’re looking at melted sockets or fried wiring. To keep things from going south, we lean on high-temp ceramics to soak up that load. For the folks doing material R&D, this is where it gets interesting. By tweaking the radiance profile, you can basically mimic industrial cooling curves right there on your lab bench. You get to isolate your variables because you know exactly how many kW/cm are hitting the glass. We give you all the raw numbers—voltage, current, spectral output—so you can plug it into your controller and actually get data you can trust. It stops being just another part in a machine and starts acting like a precision tool.